My Room
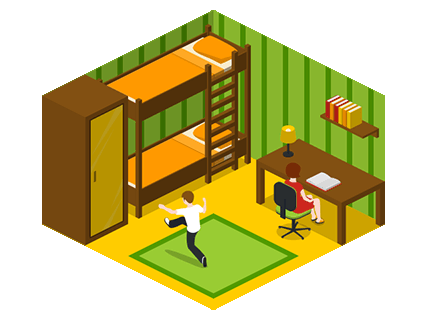
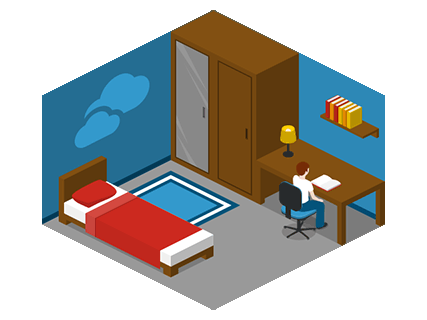
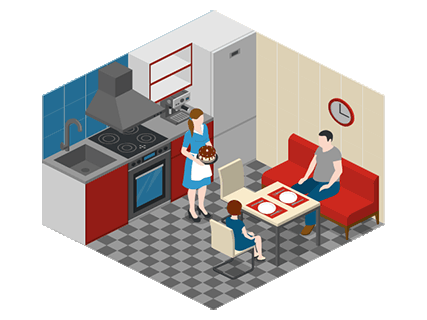
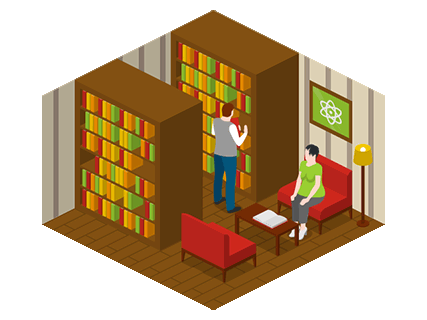
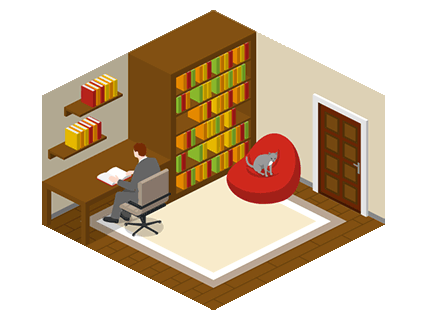
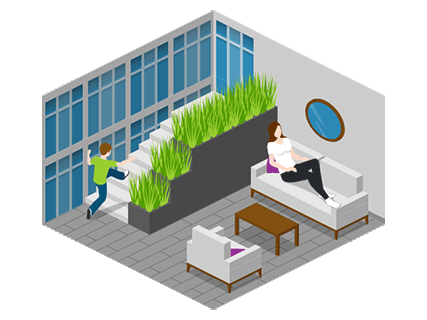
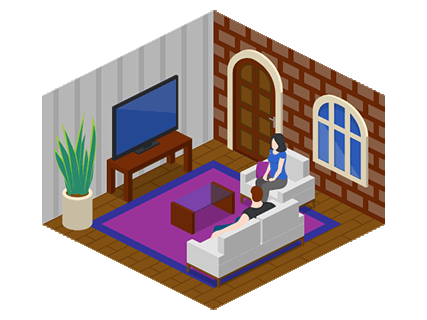
Create a digital room layout to represent a real or imaginary room
Our unique online designer with thousands of icons allows to create illustrations by yourself. It's easy and free to try.
What you can create using Icograms Designer
Topic: Room Layout
Objective: By the end of this lesson, students will be able to design a room layout using Icograms Designer, adding and arranging walls, furniture, decorations, doors, windows, and people to create a visually appealing and functional space.
Elements: Walls, furniture, doors, windows, people
Introduction Rooms are essential spaces where people live, work, and relax. A well-designed room includes important elements such as walls, doors, windows, furniture, and decorations to make it both functional and visually appealing. Today, we will use Icograms Designer to create a digital room layout by arranging different objects to create a personalized space.
Step-by-Step Activity
Step 1: Open Icograms Designer
Go to Icograms Designer and select the "Rooms" palette.
Step 2: Creating the Room Layout (Walls & Floors)
Select "Floors, Walls, Roofs" to create walls and floors. Adjust the size and shape of the room. Add doors and windows from the "Doors, Windows" category
Step 3: Adding Furniture
Place essential items based on room type:
Bedroom: bed, desk, dresser, nightstand
Living room: sofa, TV, coffee table, bookshelves
Kitchen: stove, fridge, sink, dining table
Step 4: Decorating the Room
Add rugs, lamps, paintings, plants, and wall art.
Step 5: Placing People
Select the People category. Add people sitting, standing, or working in the room.
Final Touches & Review Students check their room layout to ensure it is organized, functional, and visually appealing. Allow students to present their rooms to a partner or the class.
